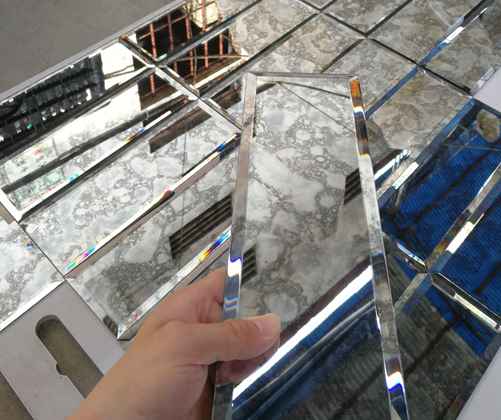


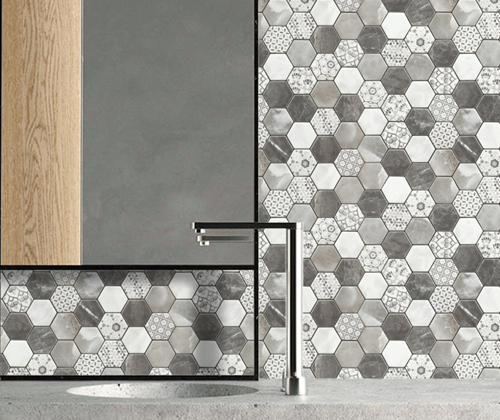

Руководство по установке стеновой панели МДФ

Простая установка необработанных или грунтованных панелей
Необработанные или грунтованные панели можно привинтить непосредственно к стене (шпильки), обеспечив достаточную опору. После этого отверстия для шурупов можно зашпаклевать, отшлифовать и покрасить панели. Мы рекомендуем грунтовку МДФ, а затем 2 слоя акриловой краски. Для достижения наилучшего результата отшлифуйте панели после нанесения каждого слоя краски и следуйте инструкциям производителя краски. Перед креплением убедитесь, что каждая панель установлена правильно, и убедитесь, что рисунок совпадет, когда они будут прикреплены к стене.
Скрытое крепление готовых панелей
Использование алюминиевых Z-образных кронштейнов для крепления готовых панелей к стенам является отличным вариантом, поскольку они:

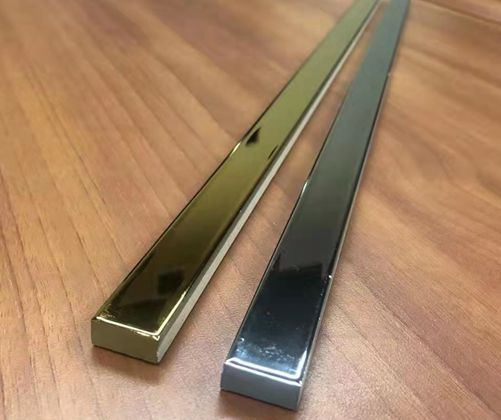
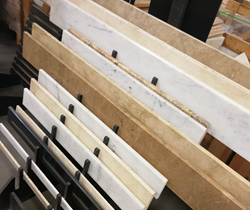
Кронштейны Z доступны от Pangu. Размеры скоб Z: толщина 5 мм, ширина 46 мм, длина 2000 мм.
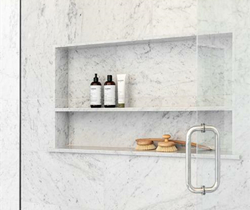
Стеновые панели соединяются встык. В качестве альтернативы они могут быть соединены внахлест или смонтированы с отрицательной деталью, т.е. с зазором между панелями. Предлагаемый метод крепления стеновых панелей, соединенных встык, приведен ниже.
Примечание. Поскольку панели имеют разную толщину на поверхности с рисунком, всегда используйте винты соответствующей длины, чтобы при прикручивании Z-образных кронштейнов к панелям сзади
Z brackets for each wall panel can be cut to 6 x 200mm pieces. These are then fixed to the back of the wall panels at the left and right hand sides at the top, middle and bottom with appropriate length screws and adhesive.
Using screws of the appropriate length, (wall screws will be much longer than panel screws) screw full lengths ofZ brackets to the walls so that the entire wall has full lengths running across it at the top, middle and bottom. The position of the Z brackets on the wall are to be offset by the width of the Z brackets on the panels.
Allow at least a 20mm gap from the ceiling to the top of the panel to allow the panel mounted bracket to be slid over the top of and into the wall mounted bracket. The panel will be locked into place when the panel mounted bracket is slid all the way

For vertical edge panel alignment (optional):
To align the panel edges snugly against each other, the following is suggested:
A 2000mm Z bracket is cut into 2 * 1000mm lengths for each panel. If starting to mount the panels from the left hand side of the wall, fit the 1000mm lengths above and below the horizontally mounted Z brackets on the right hand edge of the first panel so that the edge protrudes past the edge of the panel about 7mm. Then on each subsequent joining panel except the last one, affix the Z brackets in the same way.
Flat bar dimensions are 3mm thick x 31mm wide x 2000mm long available from 3D Wall Panels. Cut the flat bar into
These are fitted to the second panel, at the left hand edge above and below the horizontally mounted Z brackets with the edge protruding about 10mm. Repeat this procedure for each subsequent joining panel. The panels can then slide into the wall mounted brackets, whilst also ensuring that the flat bar slides into the horizontally panel mounted Z brackets as shown in figure 2 and figure 3.
Total length of Z bracket recommended for concealed installation per panel: 4.8m or if using the Z bracket/flat bar combination 6.8m and 2m of flat bar. A suggested adhesive for use in combination with screws is Sikaflex or Simpson ISR 70-05 by Bostik.

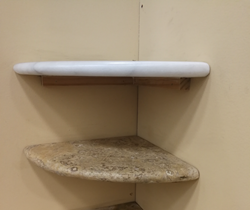
Installation of internal and external corners
External corners may be created by cutting and mitering the panels, however it must be noted that approximately 3mm of the design is lost in the cutting process. Therefore the pattern may not necessarily align when the edges are put together. For easier treatment of external corners, an aluminium square or angle can be fitted on the corner. An added advantage is the protection of the panel edges. Similarly for internal corners, an aluminium square can be used so that the panels are butted up against it on either side. If internal corner mitering is preferred, it must be noted that approximately 40mm of the pattern will be lost in the cutting process, so if pattern alignment is preferred, then panels should be cut from full sized panels starting from the corner and mounting outwards.
Any exposed edges of panels may be fitted to an aluminium angle to minimise the possibility of them being damaged.
Exterior panels
Waterproof outdoor polymer panels are supplied raw only. They should be fitted to a frame or wall and painted after
Installation Notes
This information is intended as a guide only. Each situation will differ and there may be alternative methods of installation not described here.
For a professional installation, contact your local shopfitter or other suitably qualified person. Alternatively we may be able to provide you with the contact details of people who have previously installed Pangu Panels.
For pattern alignment, ensure that the panels are mounted straight and level on a flat and even surface. It may be necessary to install the panels off the floor or kickboard and ceiling as they may not be straight. Check that the wall is level. If not it may be necessary to use a frame or packers.
The pattern on the panels will align on uncut edges only.
Предыдущий :
ЕЖЕДНЕВНАЯ ЧИСТКА И УХОД ЗА МОЗАИКОЙ КАК ОЧИСТИТЬ МОЗАИКУСледующий :
Переработанная мозаичная плиткаКатегории
последний блог
 #29 B7 China ceramics trading center Nanzhang town Foshan Guangdong China
 13929916799


Добавь меня

следить за компанией
Добавьте наш wechat, мы можем поговорить сейчас! Следите за нашей компанией, вы можете получить больше информации об обновлениях. & новости и каталоги !
© Авторские права: DOZAN MOSAIC & TILES LTD. Все права защищены.

IPv6 сеть поддерживается